RFM Shaker Installation recorded by Martin Wiest )
Version 1.00 for Pinball2000.de
How that all starts:
With RFM Version 2.1 published in April 2019 by a programmer named 'applejuice', the support of a Shaker started to be in the RFM Code.
Download link Mypinballs Homepage
Below you find a picture of the ready installed shaker in my RFM
The following description will give you some hints how to install a shaker based on the installation that I did on my Huo RFM on 15.5.2018.
There is no warranty on this description, do it on your own risk.
For less experienced people I recommend you buy at least the shaker cable at Mypinballs.
I have used that cable for my installation and I have used a SAM Shaker copy bought at pinballlife.
Open the game
Slide out the glas and the playfield
Either disconnect the playfield completely or lean it to coindoor bracket with the right slide to have space
The shaker needs to go to the right side, as the left side is filled with TILT and other stuff.
Remove cable holder on right side of cabinet:
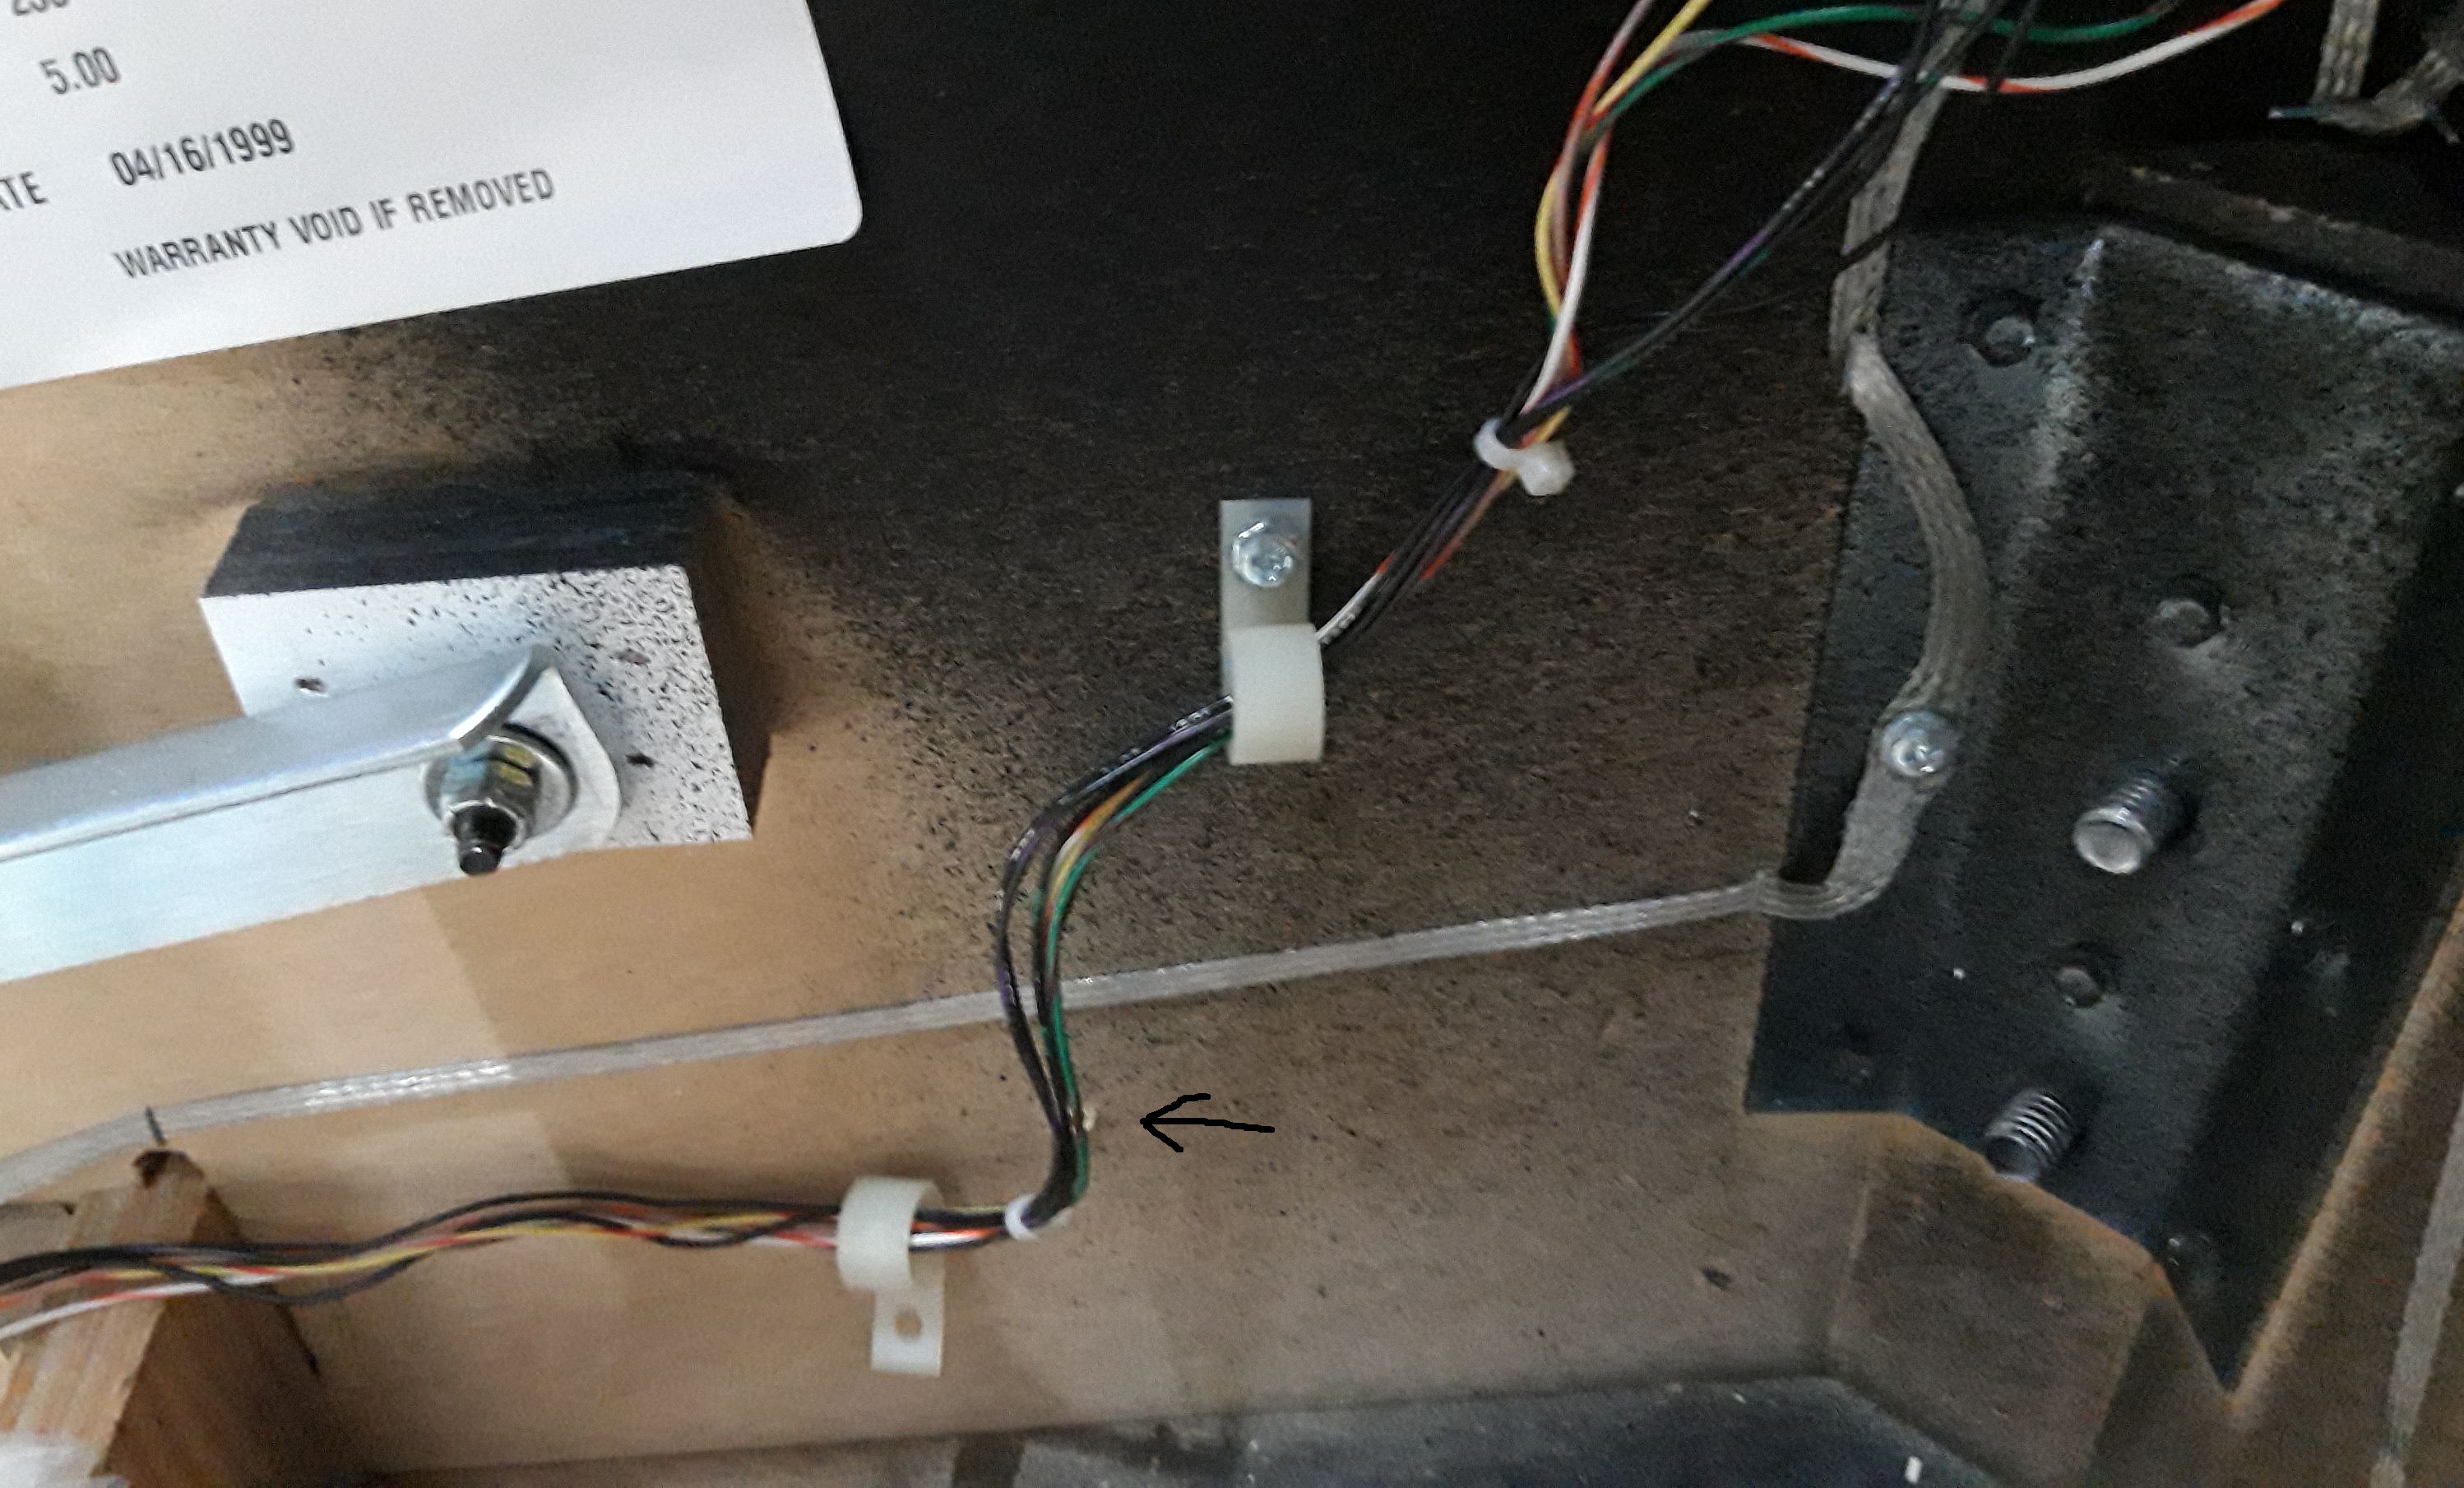
Now the space on right side should be free for the shaker.
Attach the cable holder at different place, e.g. on the separator behind the cash box
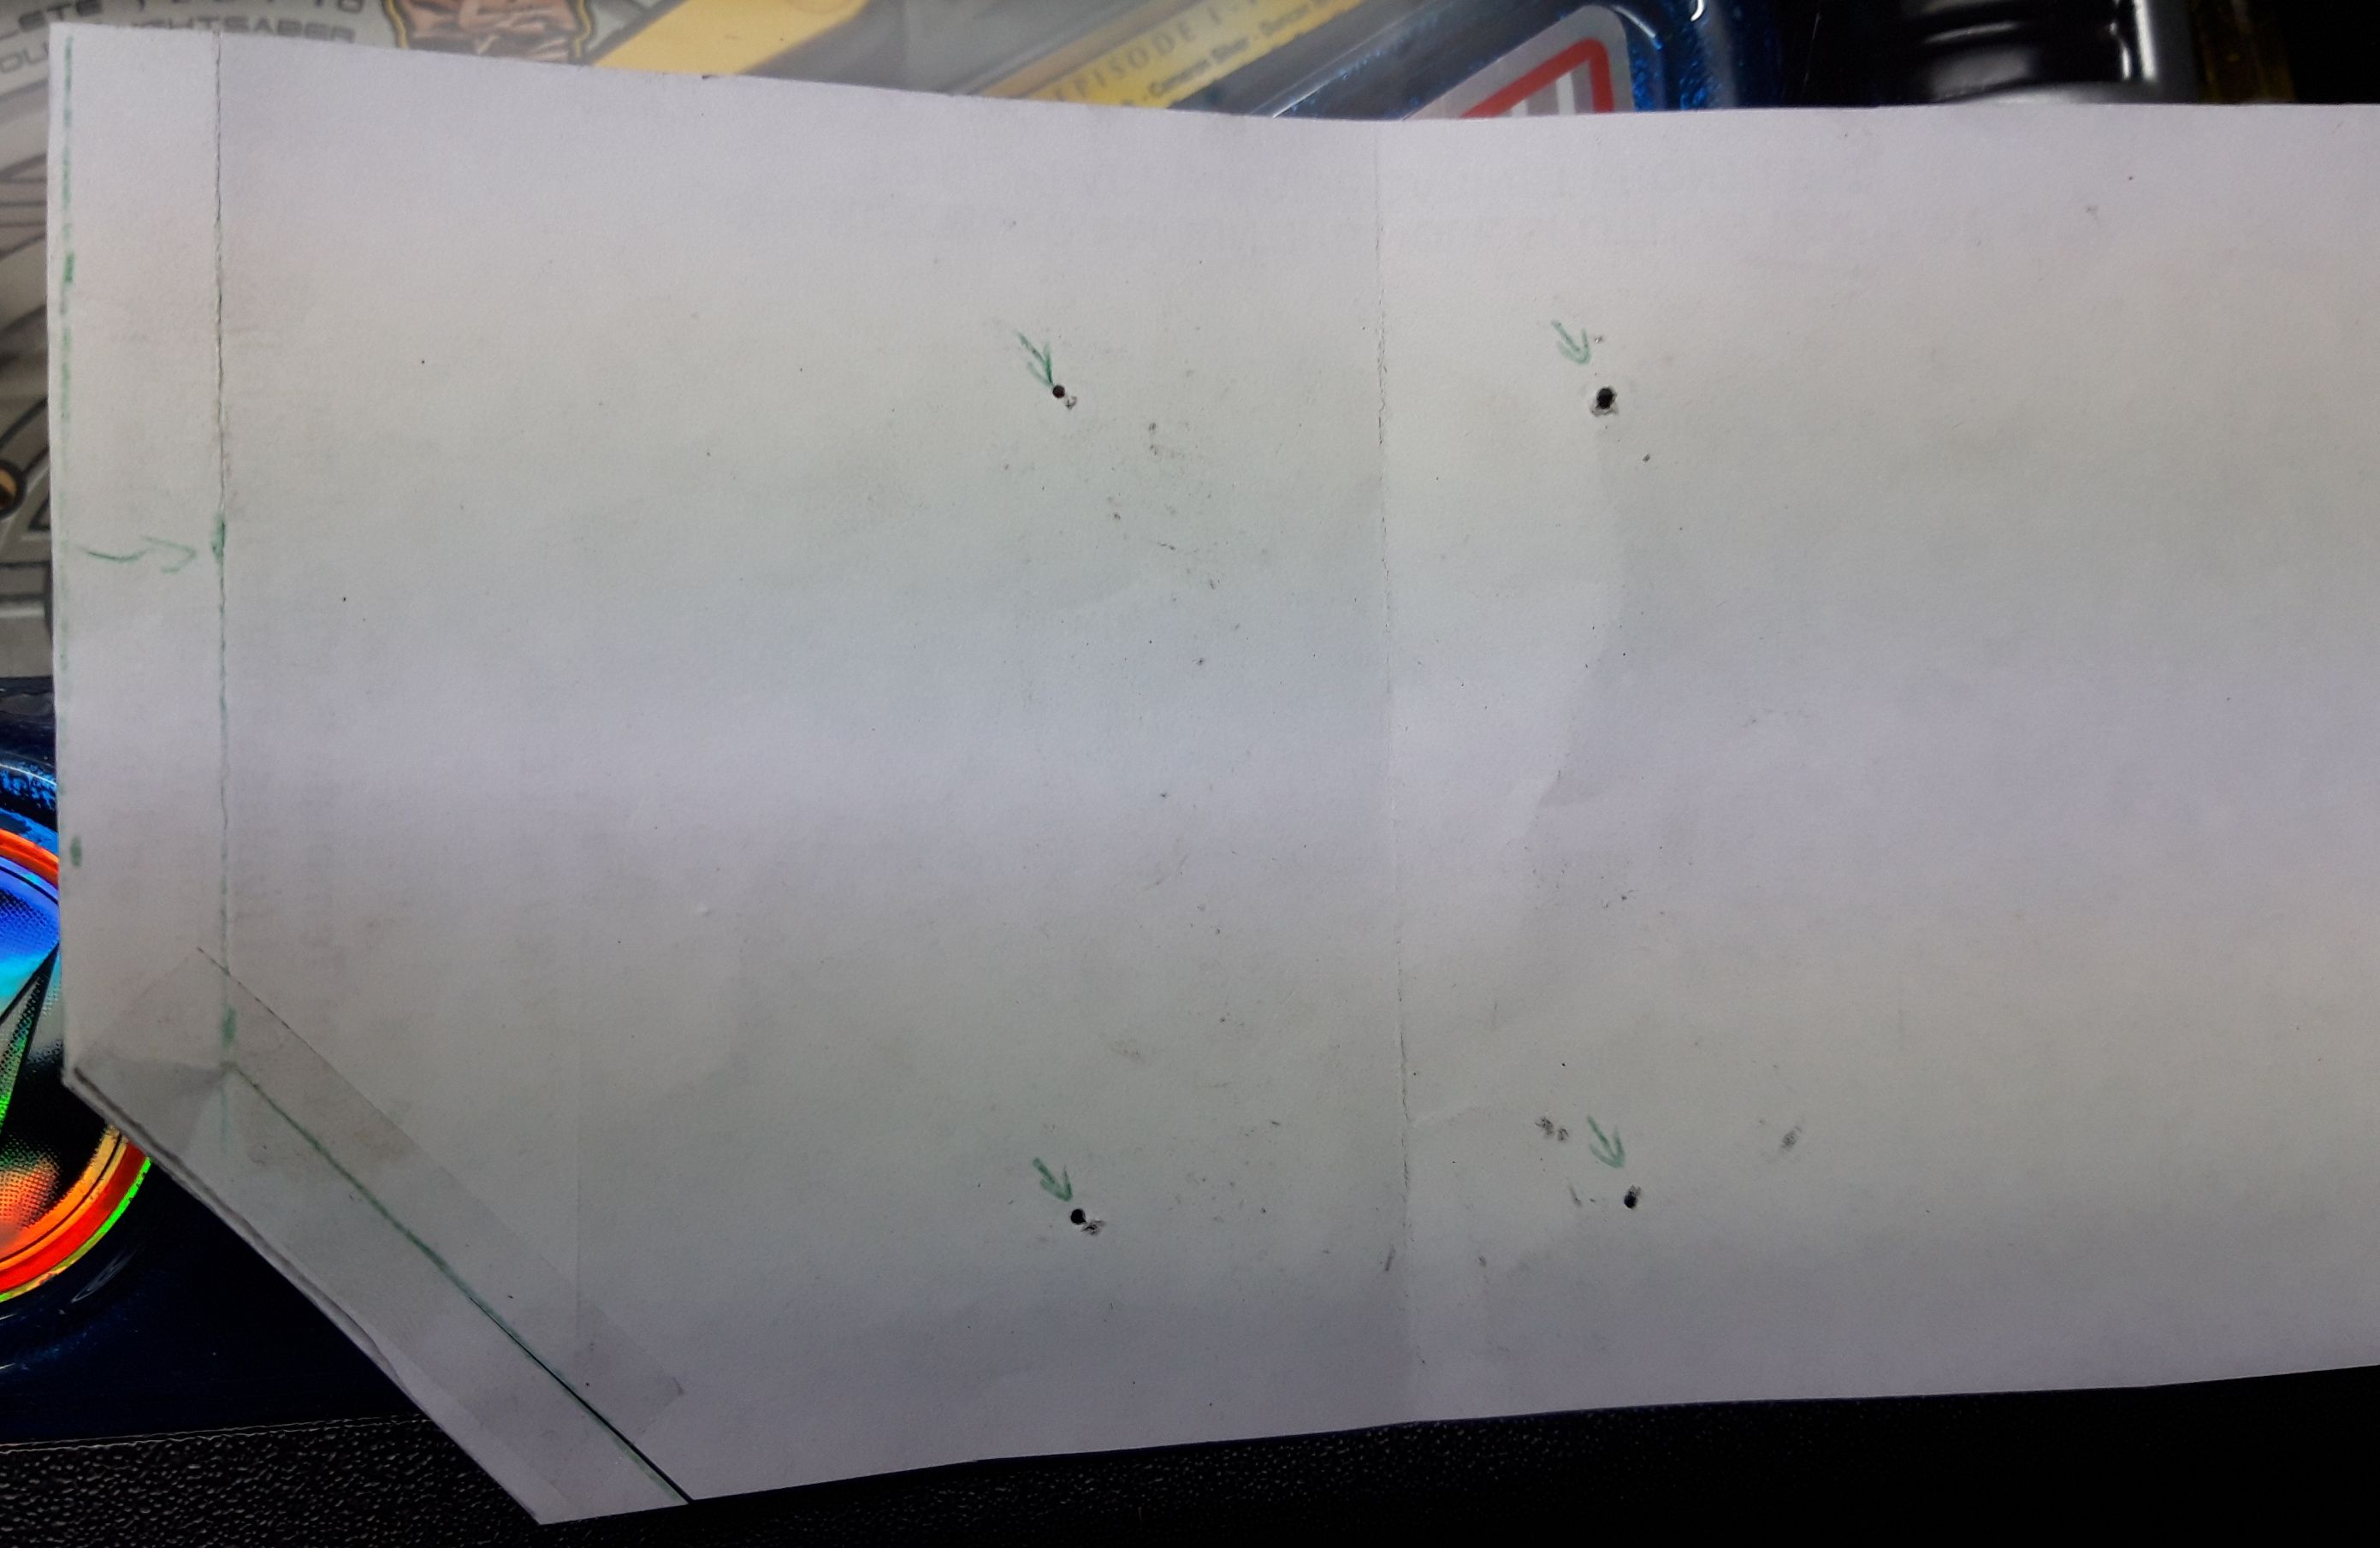
Punch 4 holes in the Stern Shaker Mounting Template as you need it top down
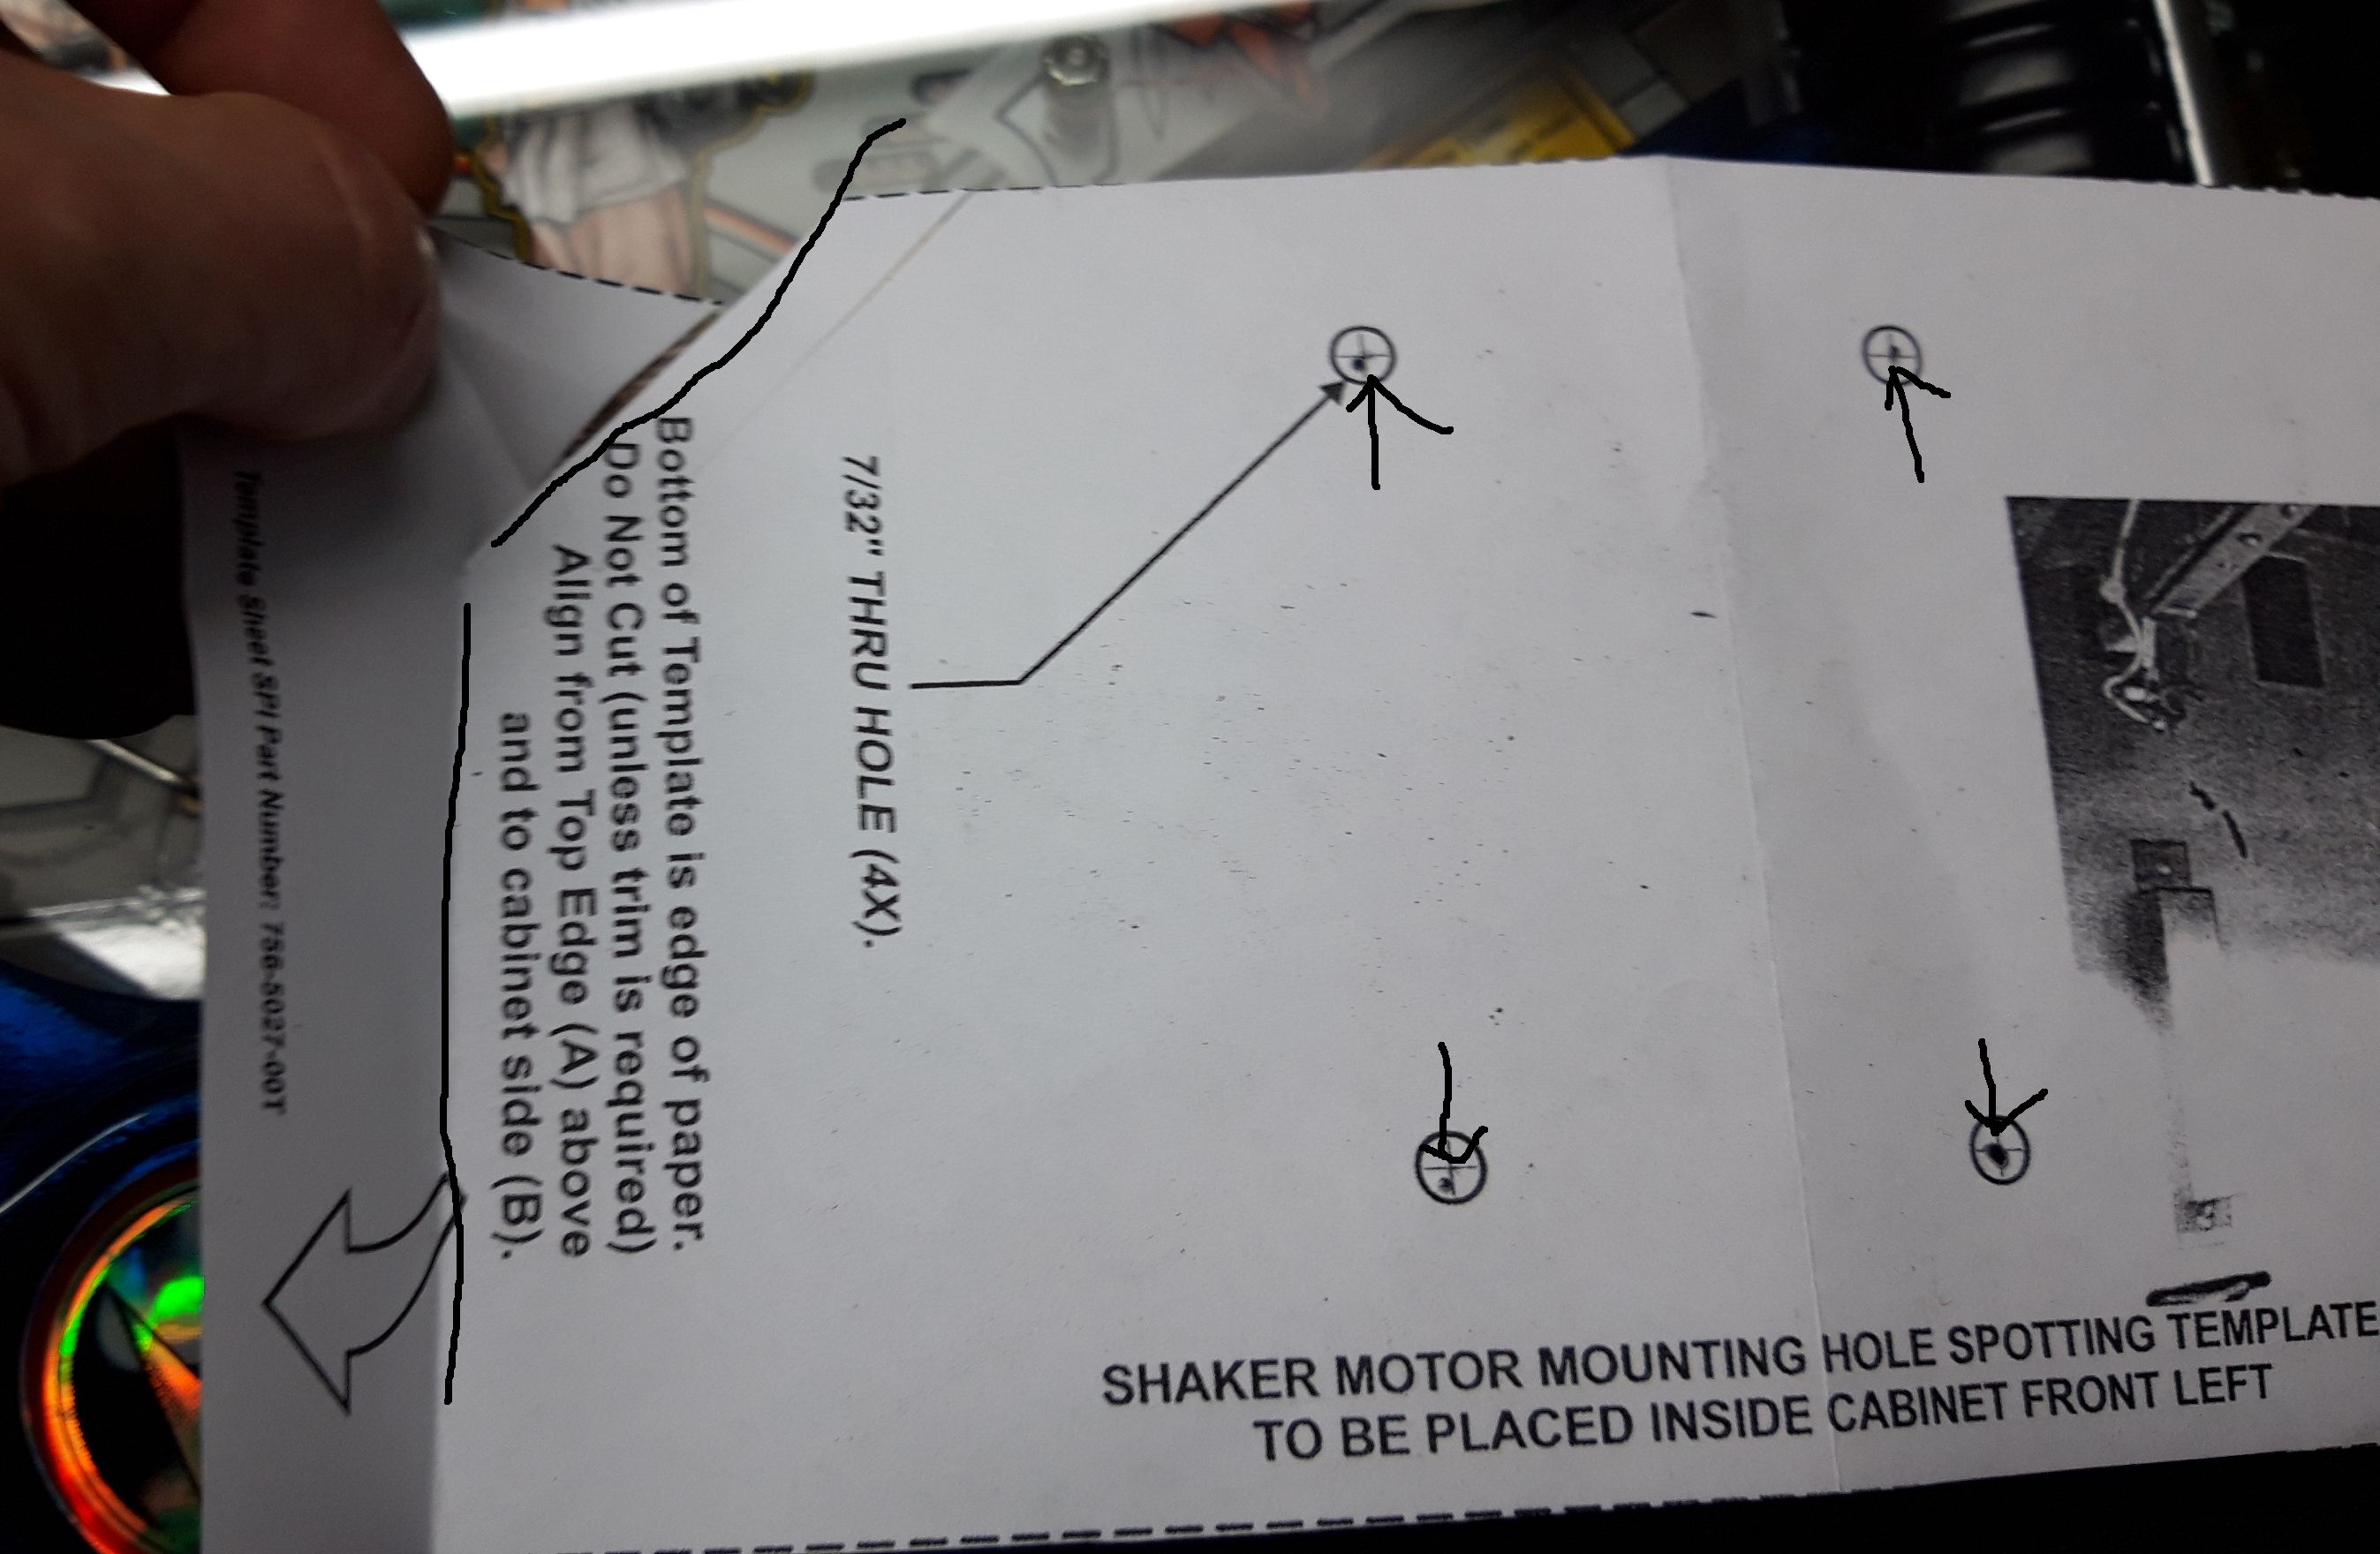
You need to shorten the Stern template on the front side (the opposite of the A site) by around 2,5 - 3cm
as the shaker needs to be mounted very close to the leg screw, to allow adding the cover lateron without
interfering the playfield standup holder.
How to shorten the template:
Place template top down in pinball right side:
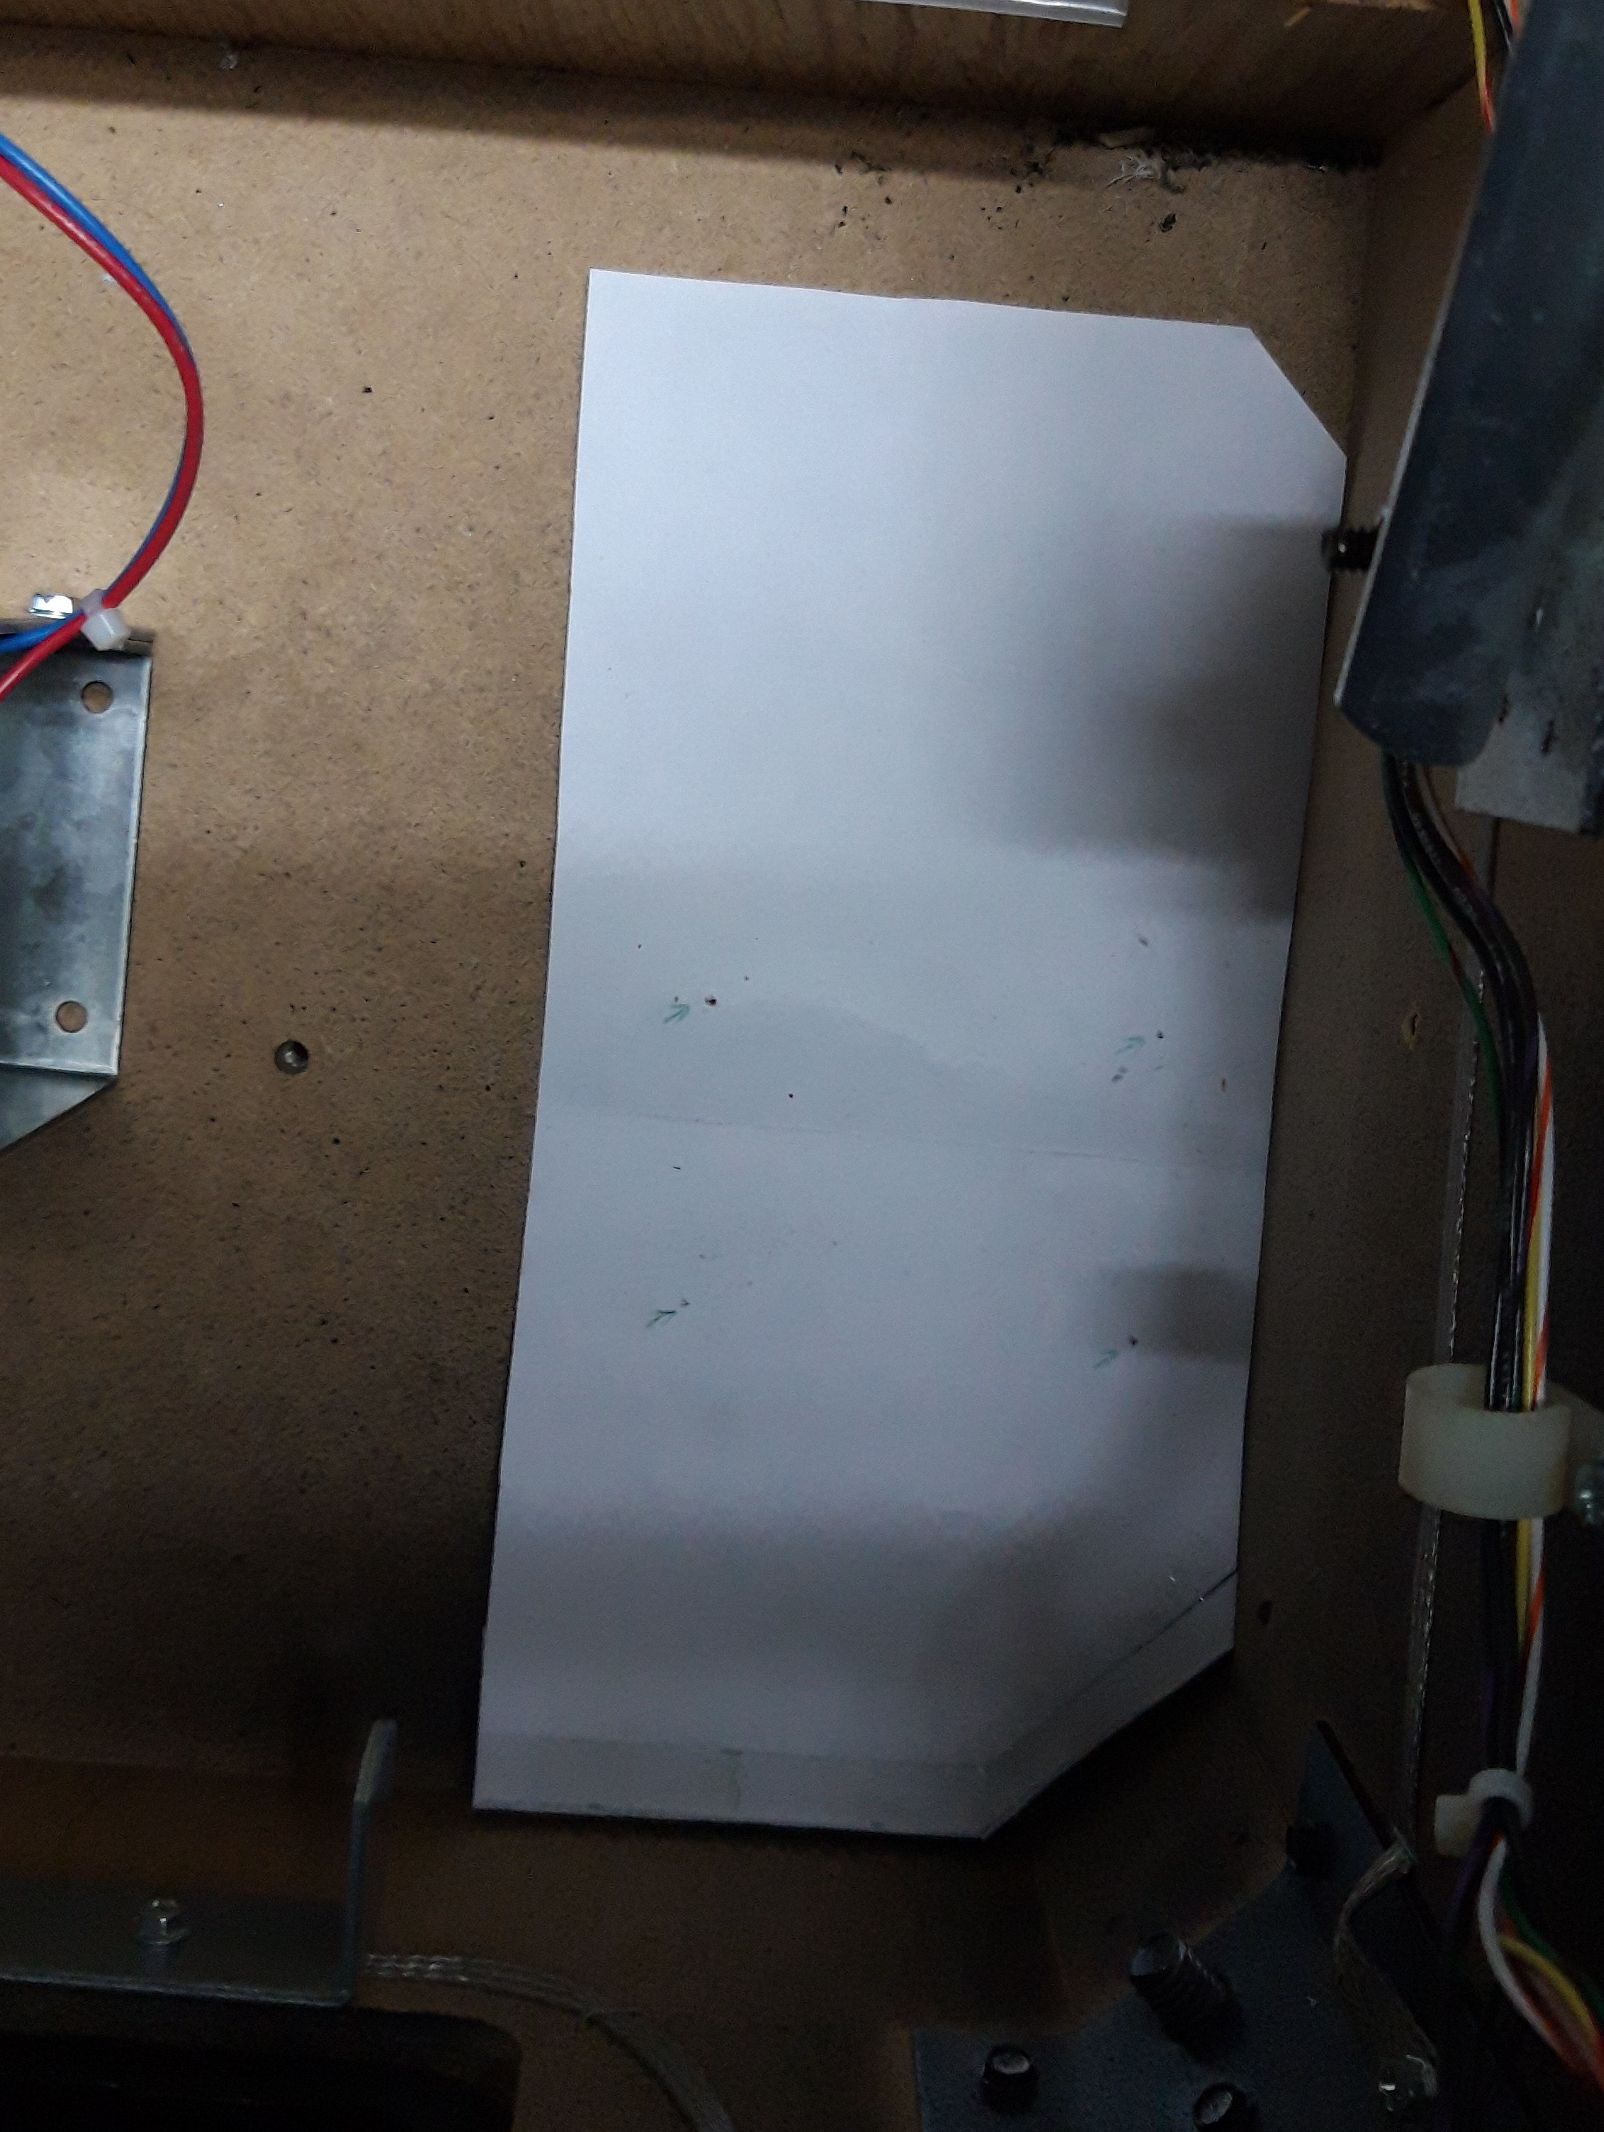 The opposite of the A side is the front side and that should attach to the front (remember you have shortened it by 3cm)
Now use a pin or other tool to mark the 4 holes you need to drill. As you have punched through them you see them.
You need to drill 5mm (7/32) holes for the punch in T-Nut.
Follow the instructions from Stern shaker and put nuts from down and mount shaker with screws.
I found it hard to punch in the T-Nuts so I just stuffed them in a bit and then pulled in the the screw.
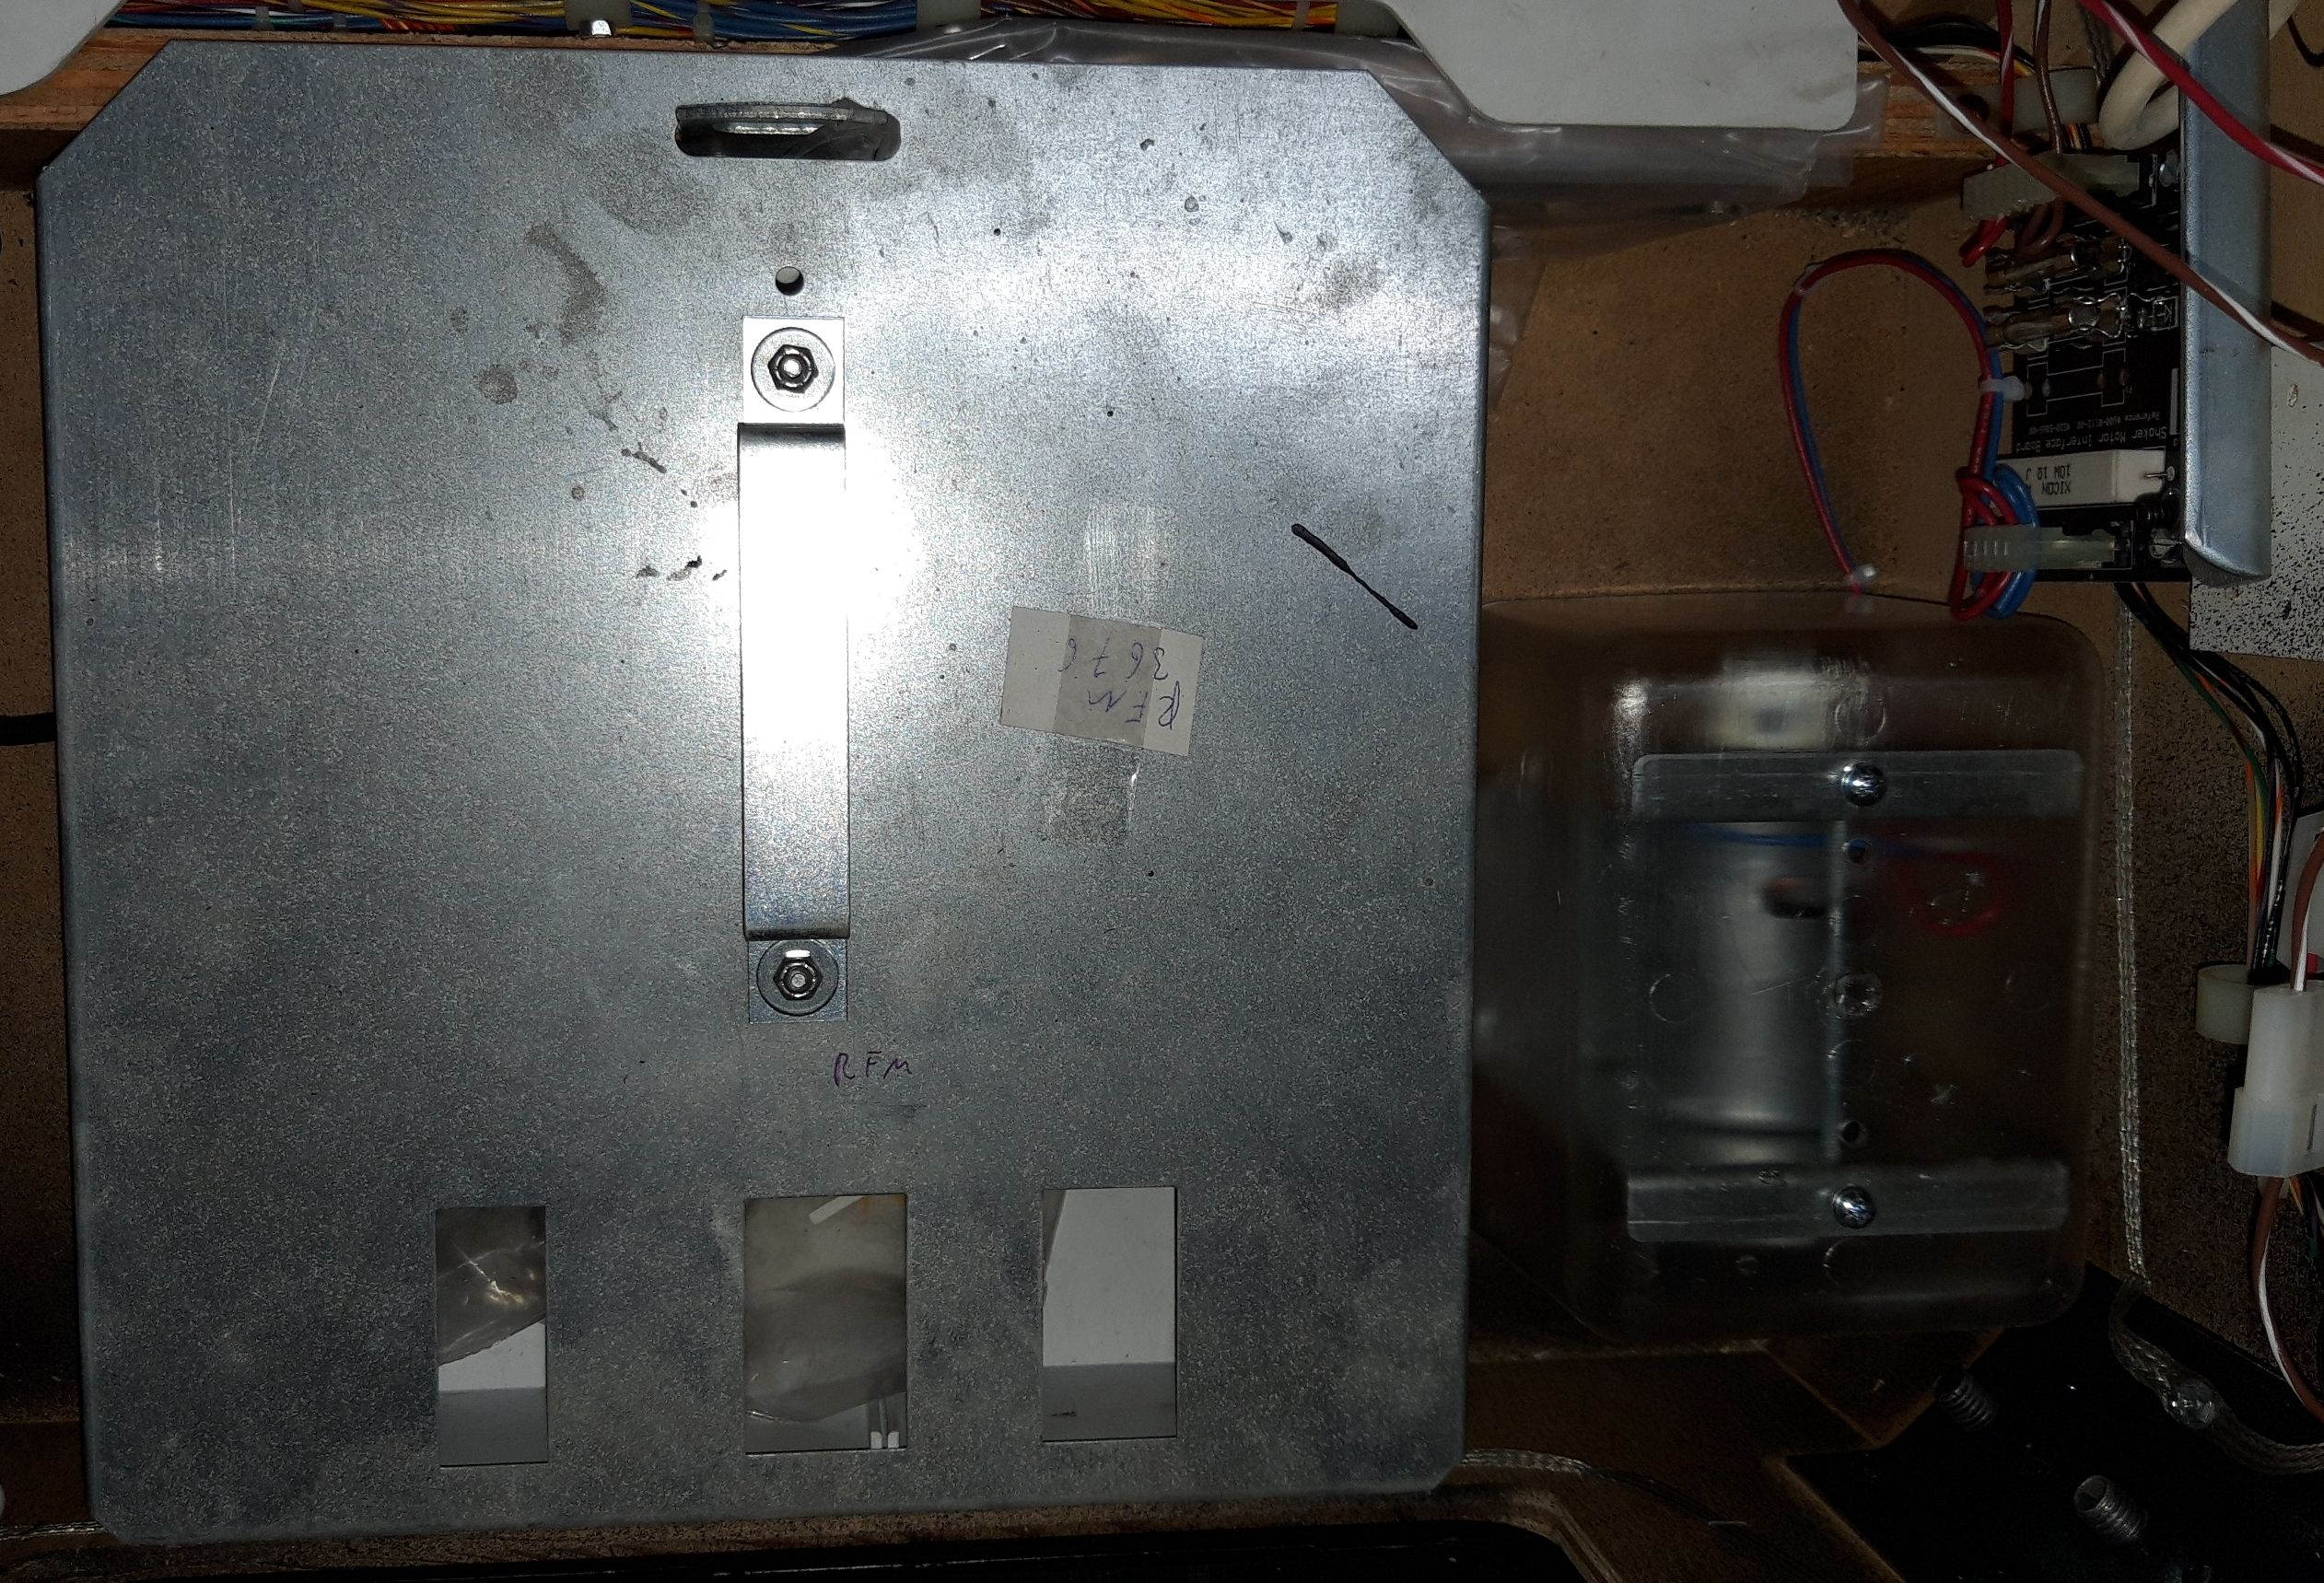
Shaker is mounted:
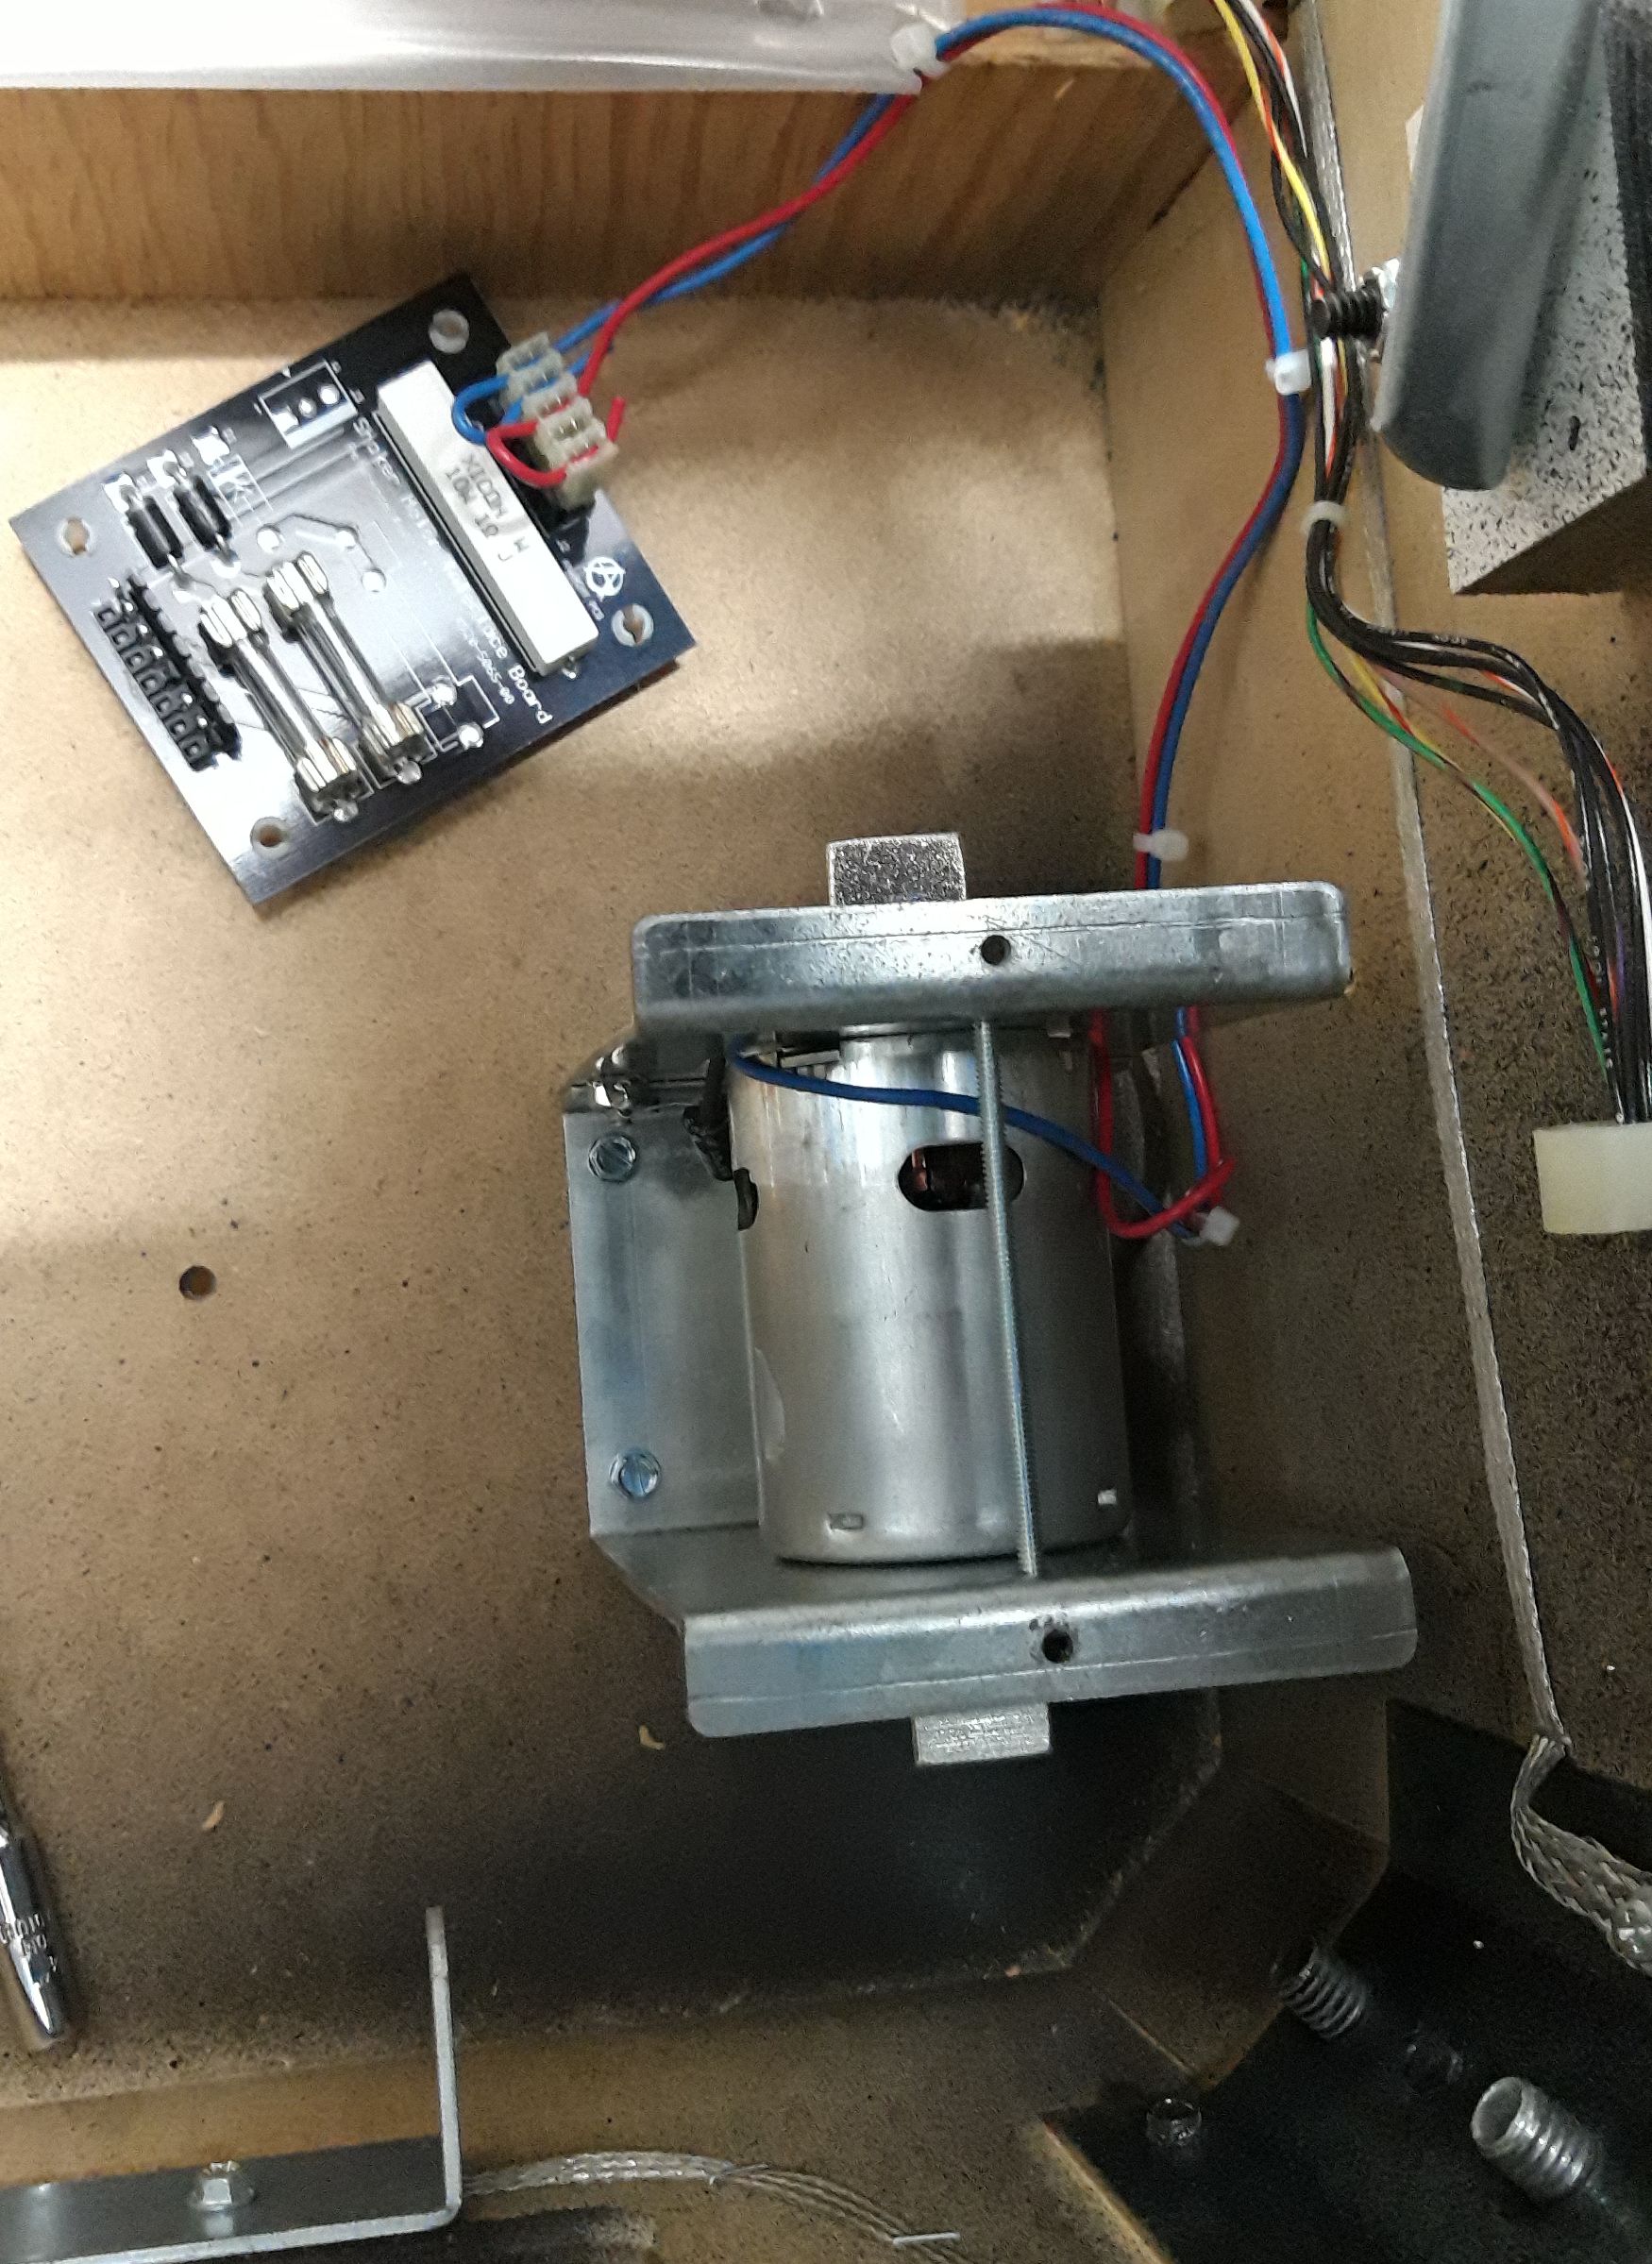
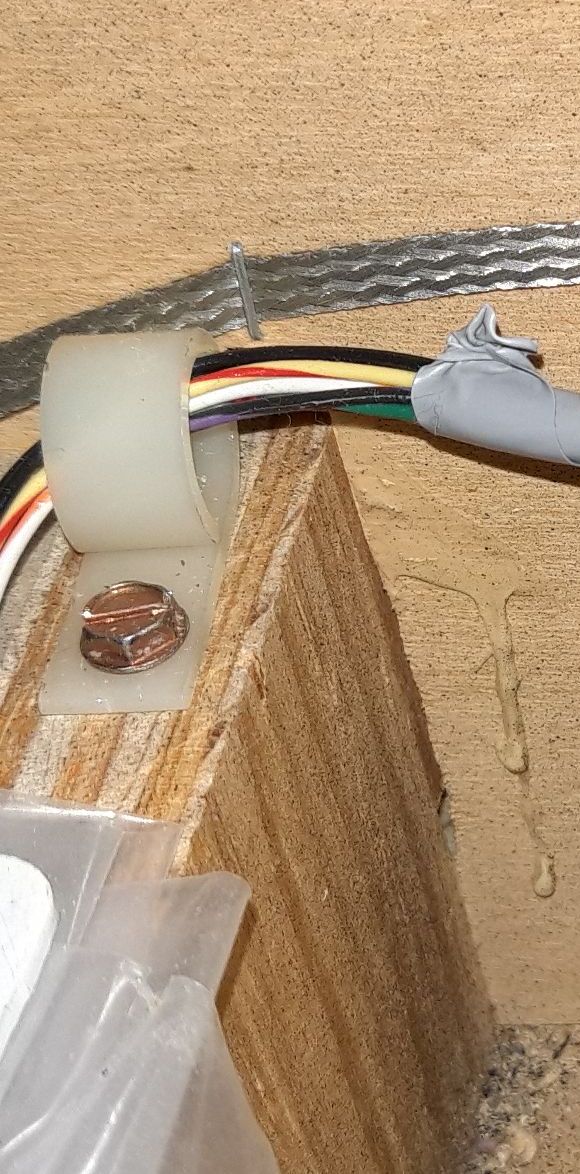
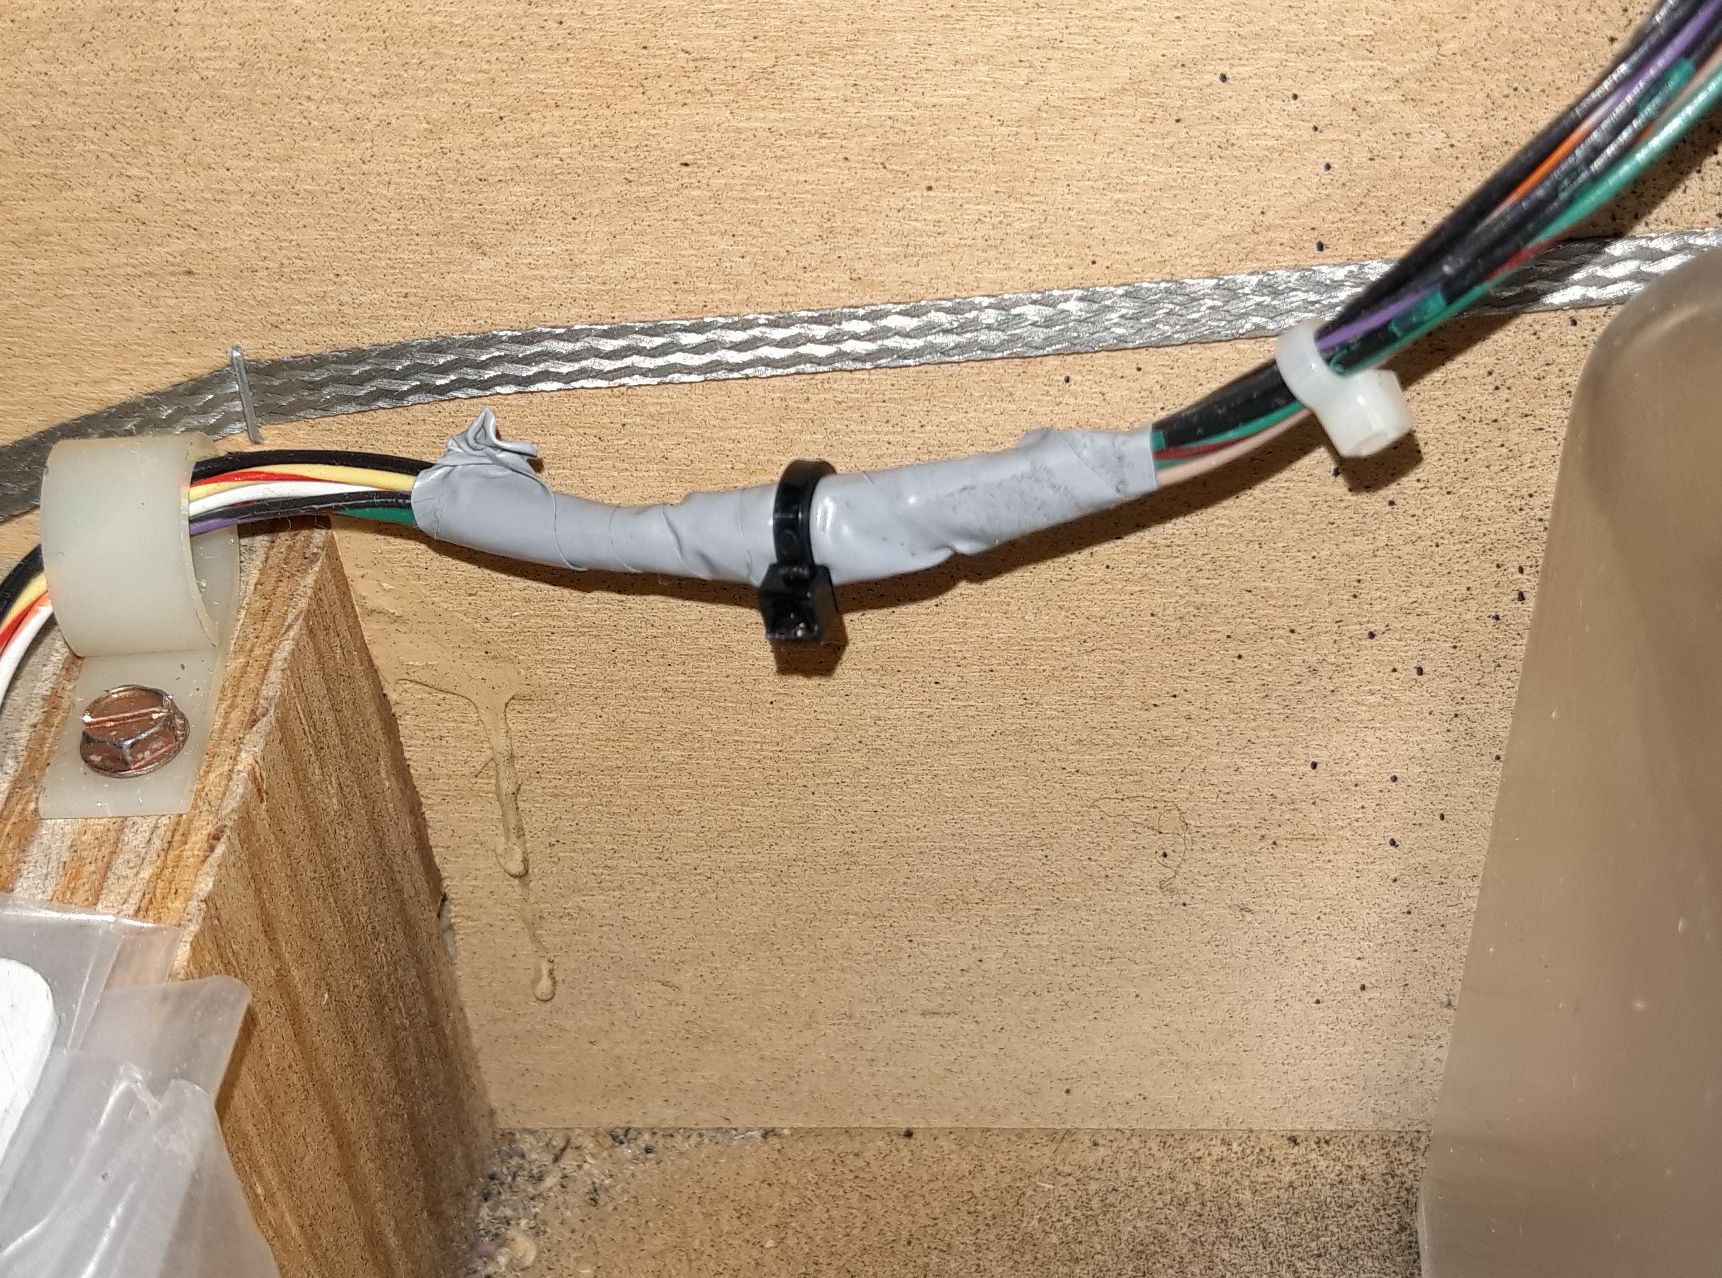
I decided to isolate the cable from right flipper button and mount behind the Stern Shaker PCB.
Cable isolated:
PCB mounted

Attach the cover on top of the shaker
Shaker and Cash Box fit well:
Open the powerdriver cover and connect the 2 connectors - the 3*3 is the power supply, the other is for the drivers.
Connectors:
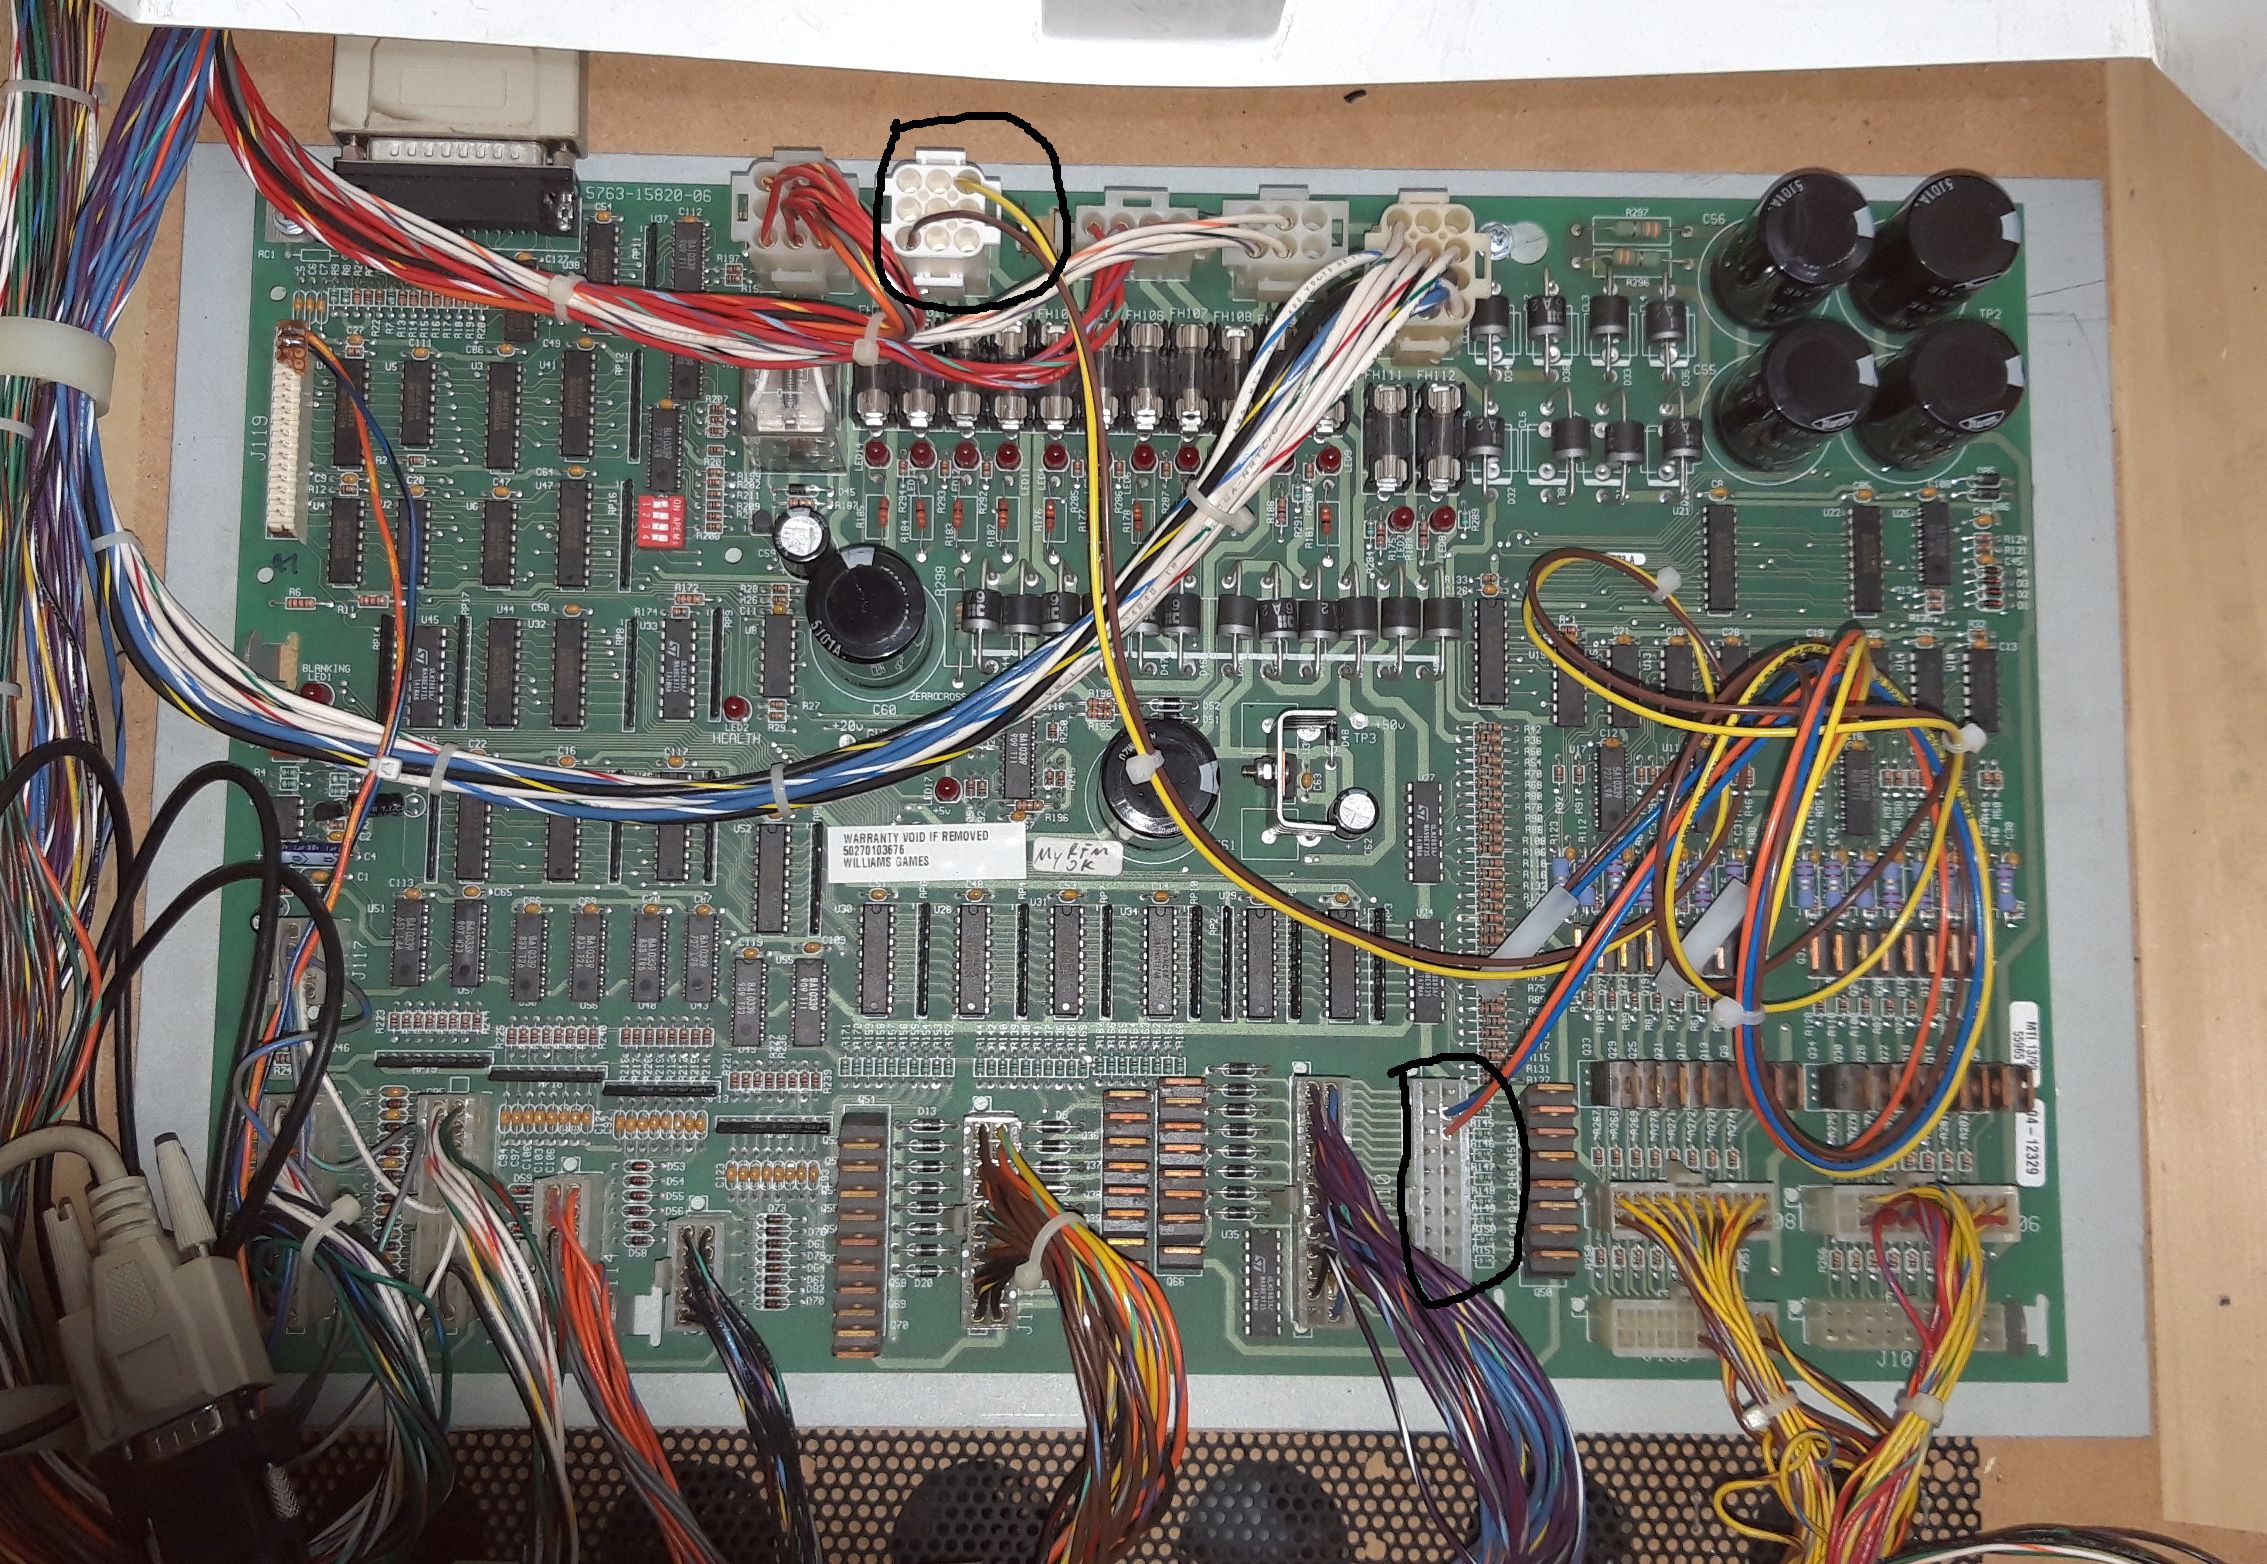
The yellow cable is the positive Power for then Shaker, the orange cable is the driver connection.
(Blue and Brown are for the REAL Knocker)
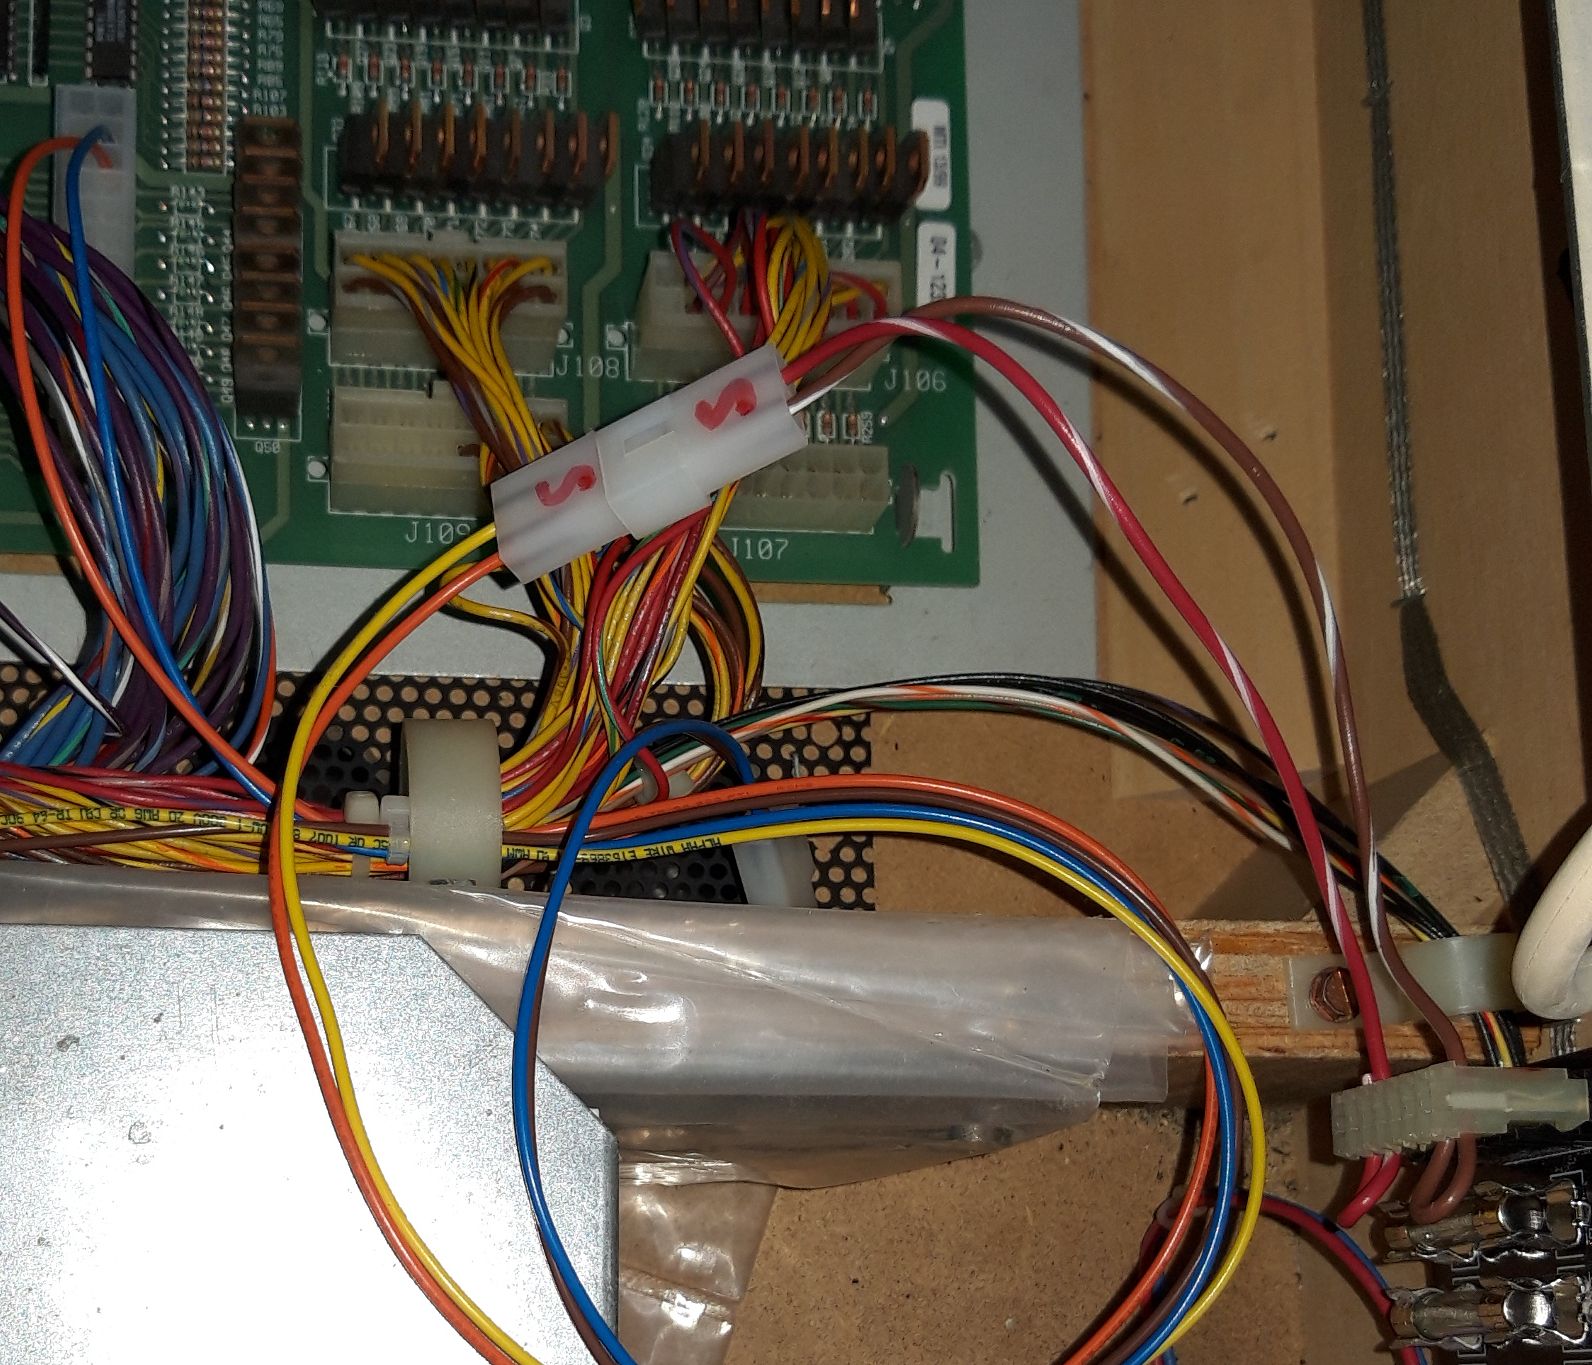
Crimp connects Stern with WMS
Once you have enabled the Shaker in the menu - it will shake you babe!
Not too much, but very nice.
|